Workflow creation
Start new workflow
- Click on the Start Workflow menu item in the menu.
- Select and click on the workflow type you want to create (e.g., Contract). Note that workflows of the same type can be grouped into directories (folders) by the elDoc administrator for more convenient navigation.

Workflow Form Fields
The workflow form fields and their types may vary from one workflow form to another and are configured by the elDoc administrator.
Initiator Field: This field is automatically filled with the current user's name during workflow creation.
Created Field: This field is automatically populated with the date and time when the workflow was created. To change the date (if allowed by the elDoc administrator), click the respective button and select the required date and time.
References Field: This field allows you to attach links to related workflows in the elDoc system.
- Click Attach References.
- In the opened dialog window titled References to Linked Documents, select the documents and click OK.
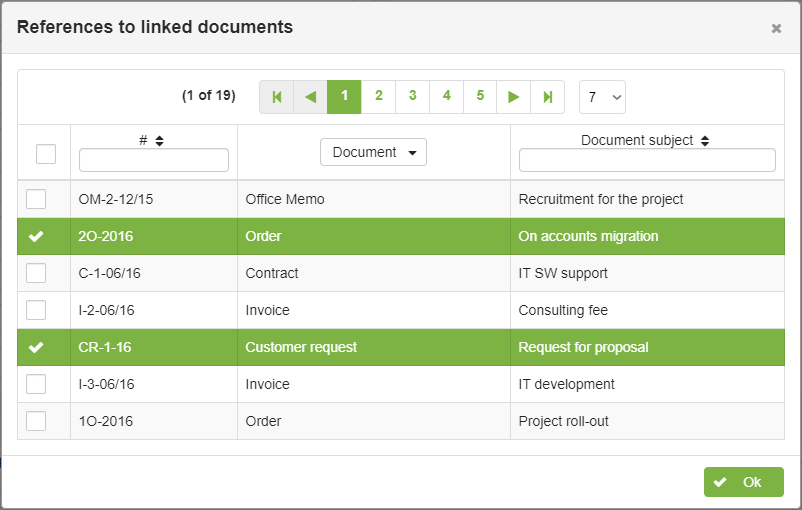
To remove a link from the References field, click Attach References and uncheck the document in the dialog window.
The Attachments field allows you to attach workflow-related files such as text documents, spreadsheets, presentations, pictures, etc. To add a file, click + Attach Files, select the required document on your local PC in the dialog window, and click Open. The file will be uploaded, and a link will be added to the Attachments field.
To remove an attached document from the workflow form, click the delete button next to the file.
The Description field may contain comments on the workflow if necessary.

Workflow phases
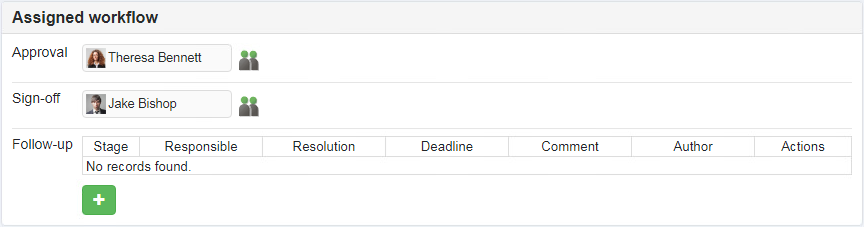
Assigned workflows
he Assigned Workflows area displays the phases of the workflows configured by the elDoc administrator and lists the participants (users and/or groups of users). The configuration of the workflow, as well as the appointment of participants, is determined by the elDoc administrator. More details are provided in the Admin Guide.
If several sub-workflows are assigned to the workflow, the sub-workflow selection area will be displayed as follows:

In such case it is required to choose the respective sub-workflow and click Assign selected workflow button.
Workflow Participants Selection (Approval and Sign-off Phases)
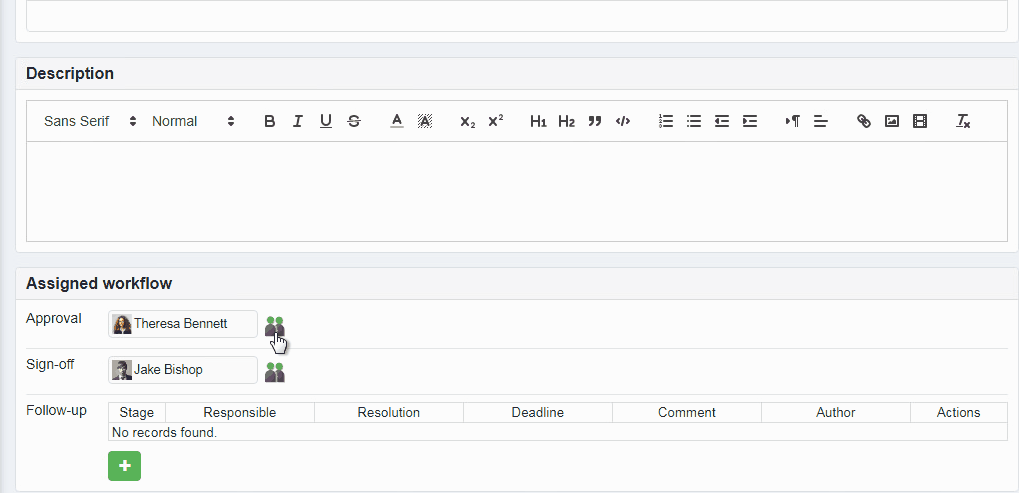
If permitted by the configuration of the elDoc system, which is managed by the elDoc administrator, you can edit, change, or add participants involved in the approval or signing workflows. To do so, click the appropriate icon and select the desired user or group of users.
Use the "User Selection" dialog to assign the necessary users or groups to the workflow phase, as shown below:
Users selection dialog allows you to chose between available directories:
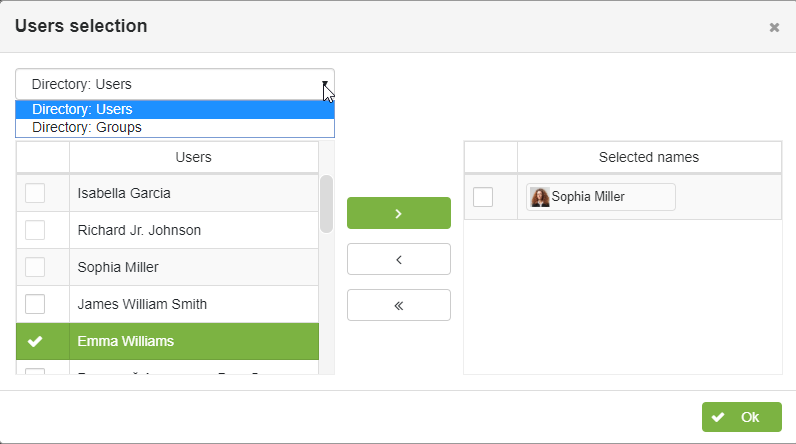
Once the workflow participants are selected, click the "OK" button. The selected users will appear in the respective workflow phase. Note: Groups will be expanded into a list of users who are part of the group.
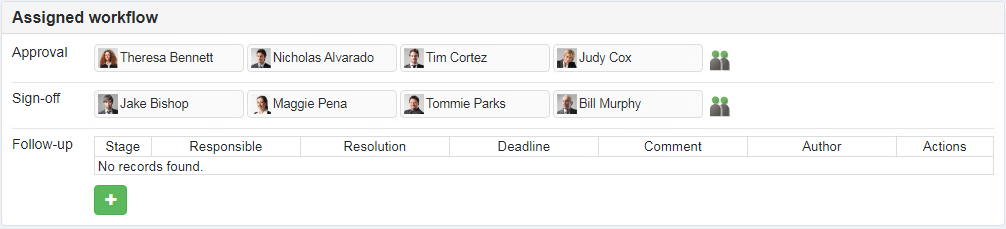
Workflow participants selection (Follow-up phase)
To assign users for the Follow-up phase, click the appropriate (+) button.
In the "Resolution Edit" dialog window, assign the executor for the document, specify the resolution (action required), set the terms of document execution, add comments if required, and then click the "Save" button.
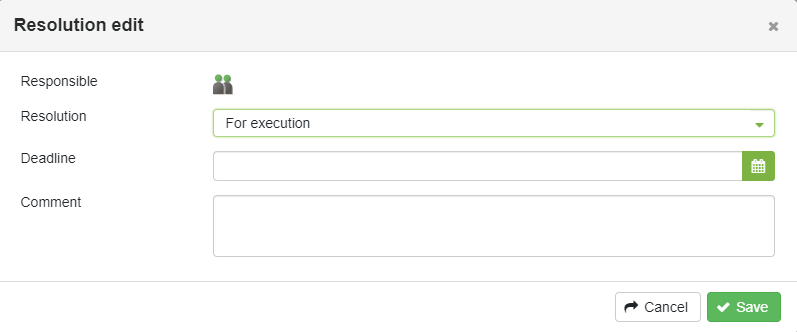
After pressing the "Save" button, the respective resolution (action required) record will appear in the Follow-up phase area.
Last modified: July 15, 2024