Document creation
Contents
Document creation
1. Navigate to the document creation page by clicking on the following Main menu item:

Hint
To quickly access elDoc homepage from any other page, click elDoc logo in the upper left corner.
2. Select and click on the document type you want to create (e.g. Contract). Note that documents of the same type can be grouped by administrator into directories for more convenient navigation in the documents list.

3. Newly created document page will be opened.
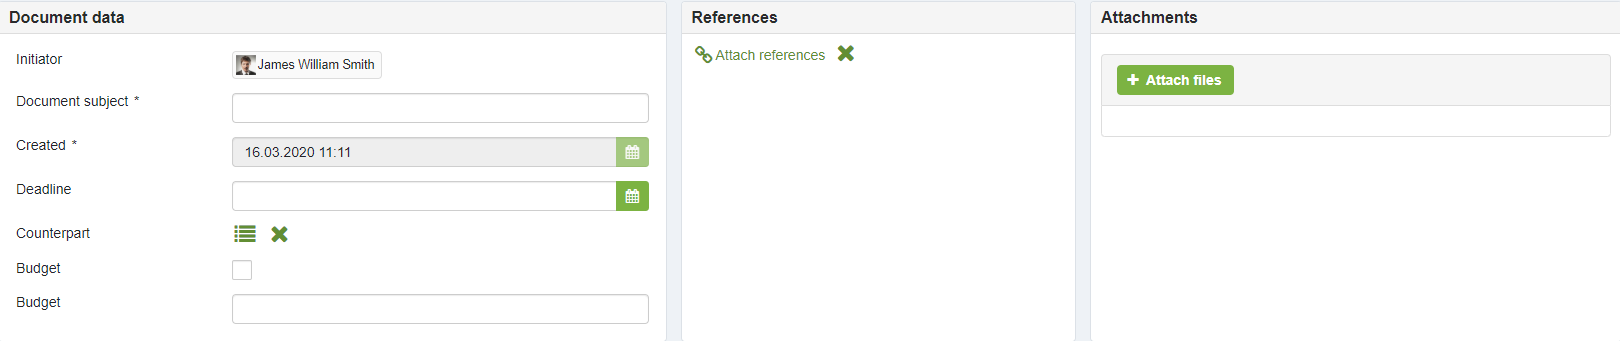
Document fields
Initiator field (filled automatically during creation) specifies the current user's name.
Created field (filled automatically during creation) displays the date and time when document was created. To change the date (in case allowed by documents administrator), click the button ![]() and select required date and time
and select required date and time
Note
The document card may also have other additional fields that have been configured for this type of document.
References field provides ability to attach links to the related documents in the elDoc system. In order to attach links to documents:
- click Attach references.
- In opened dialog window References to linked documents, select documents and click Оk.
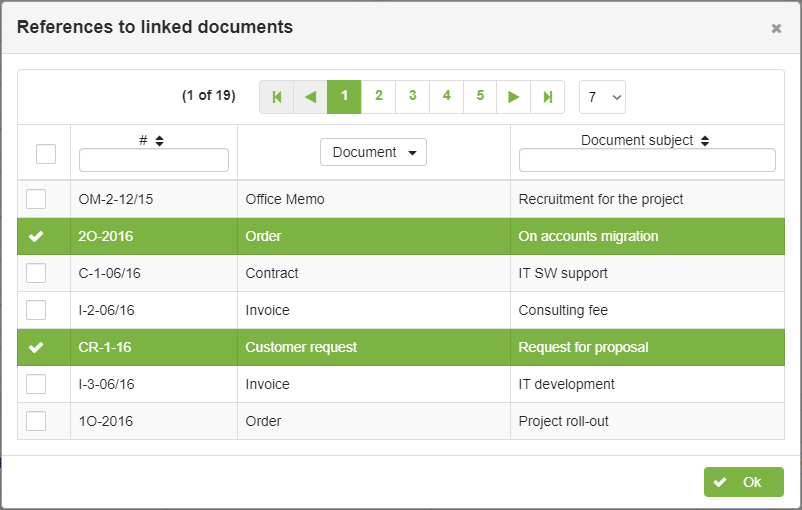
To remove document from References field: click Add references and uncheck the document in the dialog window.
Attachments field provides the ability to attach document related files such as text documents, spreadsheets, presentations, pictures, etc.
To add the file click +Attach files, in dialog window select required document on your local PC and click Open. The file will be downloaded and link will be added to the Attachments field.
To remove attached to the document file - click the delete button ![]() on the file.
on the file.
Hint
You can also use drag & drop files for upload into the +Attach files area.
Note
Time required for file uploading may vary based on the file size and network connection speed. The link to added file will appear in Attachments field once file has been successfully uploaded.
IMPORTANT: Do not leave or refresh page while file is being uploaded.
Description field may contain comments on document (for example, "Please agree the list of goods").

Document process
Assigned processes
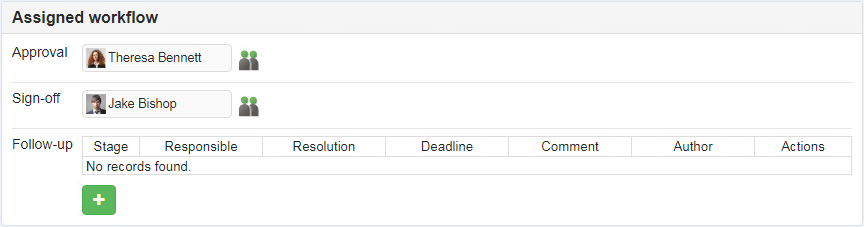
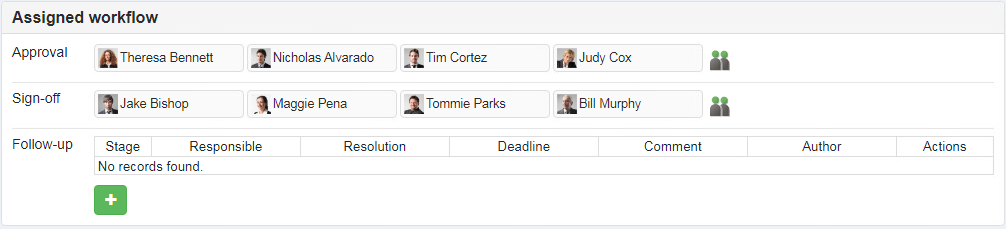
Assigned process area displays the phases of the assigned BPM-process and list of persons or groups involved in the process. Process assignment to the document as well as appointment of participants list is determined by the documents administrator (for more details provided in Admin Guide).
In case several processes are assigned to the document, process selection area will be shown:

In such case it is required to choose the process and click Assign selected process button.
Process participants selection (Approving and Signing process phases)
In case it is required to edit / change / supplement the list of participants involved in approval / signing process click ![]() and choose respective user or group of users.
and choose respective user or group of users.
Using the dialog Users selection assign the required users or group to the process phase, as demonstrated below:
Users selection dialog allows you to chose between available directories:
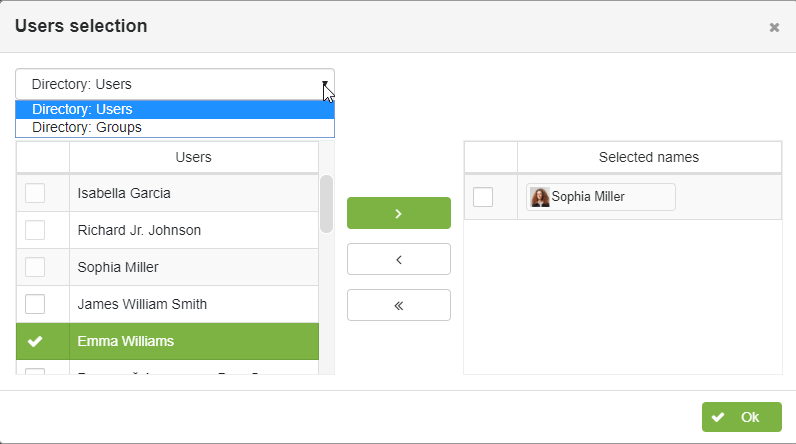
Once process participants are selected, click Ok button. Selected users will appear in the respective process phase. Note: groups are expanded into list of users who are part of the group.
Note
Process participants selection (Execution process phase)
To assign the users for the Execution process phase - click ![]() button.
button.
In dialog window Resolution edit assign the executor for the document, specify resolution, terms of document execution, add comments (if required) and click Save button.
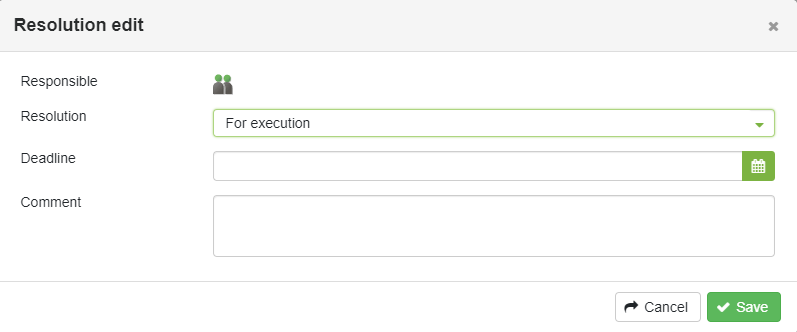
After pressing Save button respective resolution record will appear in the Execution phase area.
Last modified: November 21, 2024